Trailer wallpaper replacement

Anyone who has owned an RV (or trailer, which I'm going to use interchangeably here) will tell you that you're going to spend some time repairing things. It's part of what you bargained for when you decided to put a house on wheels and careen down the highway at 65 miles per hour. They aren't meant to be lived in full time, although many people do that.
I knew that when I bought the Winnebago Micro Minnie (maiden voyage for that one is at the end of March), I was going to need to do a thorough job of making sure the Ascape Aliner looked nice both inside and out. I loathe putting work into something I'm selling, but I knew it was for the best. Over the past two years, the heat has really done a number on one section of wallpaper. So I did my cursory research, then decided I should hire somebody else to do it. So began my search for an RV tech.
The first one wouldn't respond to my email. The second one did when I asked for a quote, which he gave at $150. I thought that was a fair deal, so I set up a day for him to come out. He texted 20 minutes before, but since I keep my phone silenced during work hours, I missed it, and I guess he was already on his way back home before I messaged back. We rescheduled, and he bailed again due to weather. To be fair, it was the one snow we get per year in North Carolina. I texted him the next week, saw that he had read the message (thanks, iMessage), and then a couple of weeks went by with no word from him. I'd been ghosted by my RV tech of all things.
So I groaned and grumbled and eventually watched more videos on how to remove and replace the wallpaper. Turns out, it took an afternoon of work, some elbow grease, and $40 worth of peel-and-stick wallpaper. It doesn't match the rest of the interior, but it doesn't clash and it's not ugly or "too much" as Corey put it.
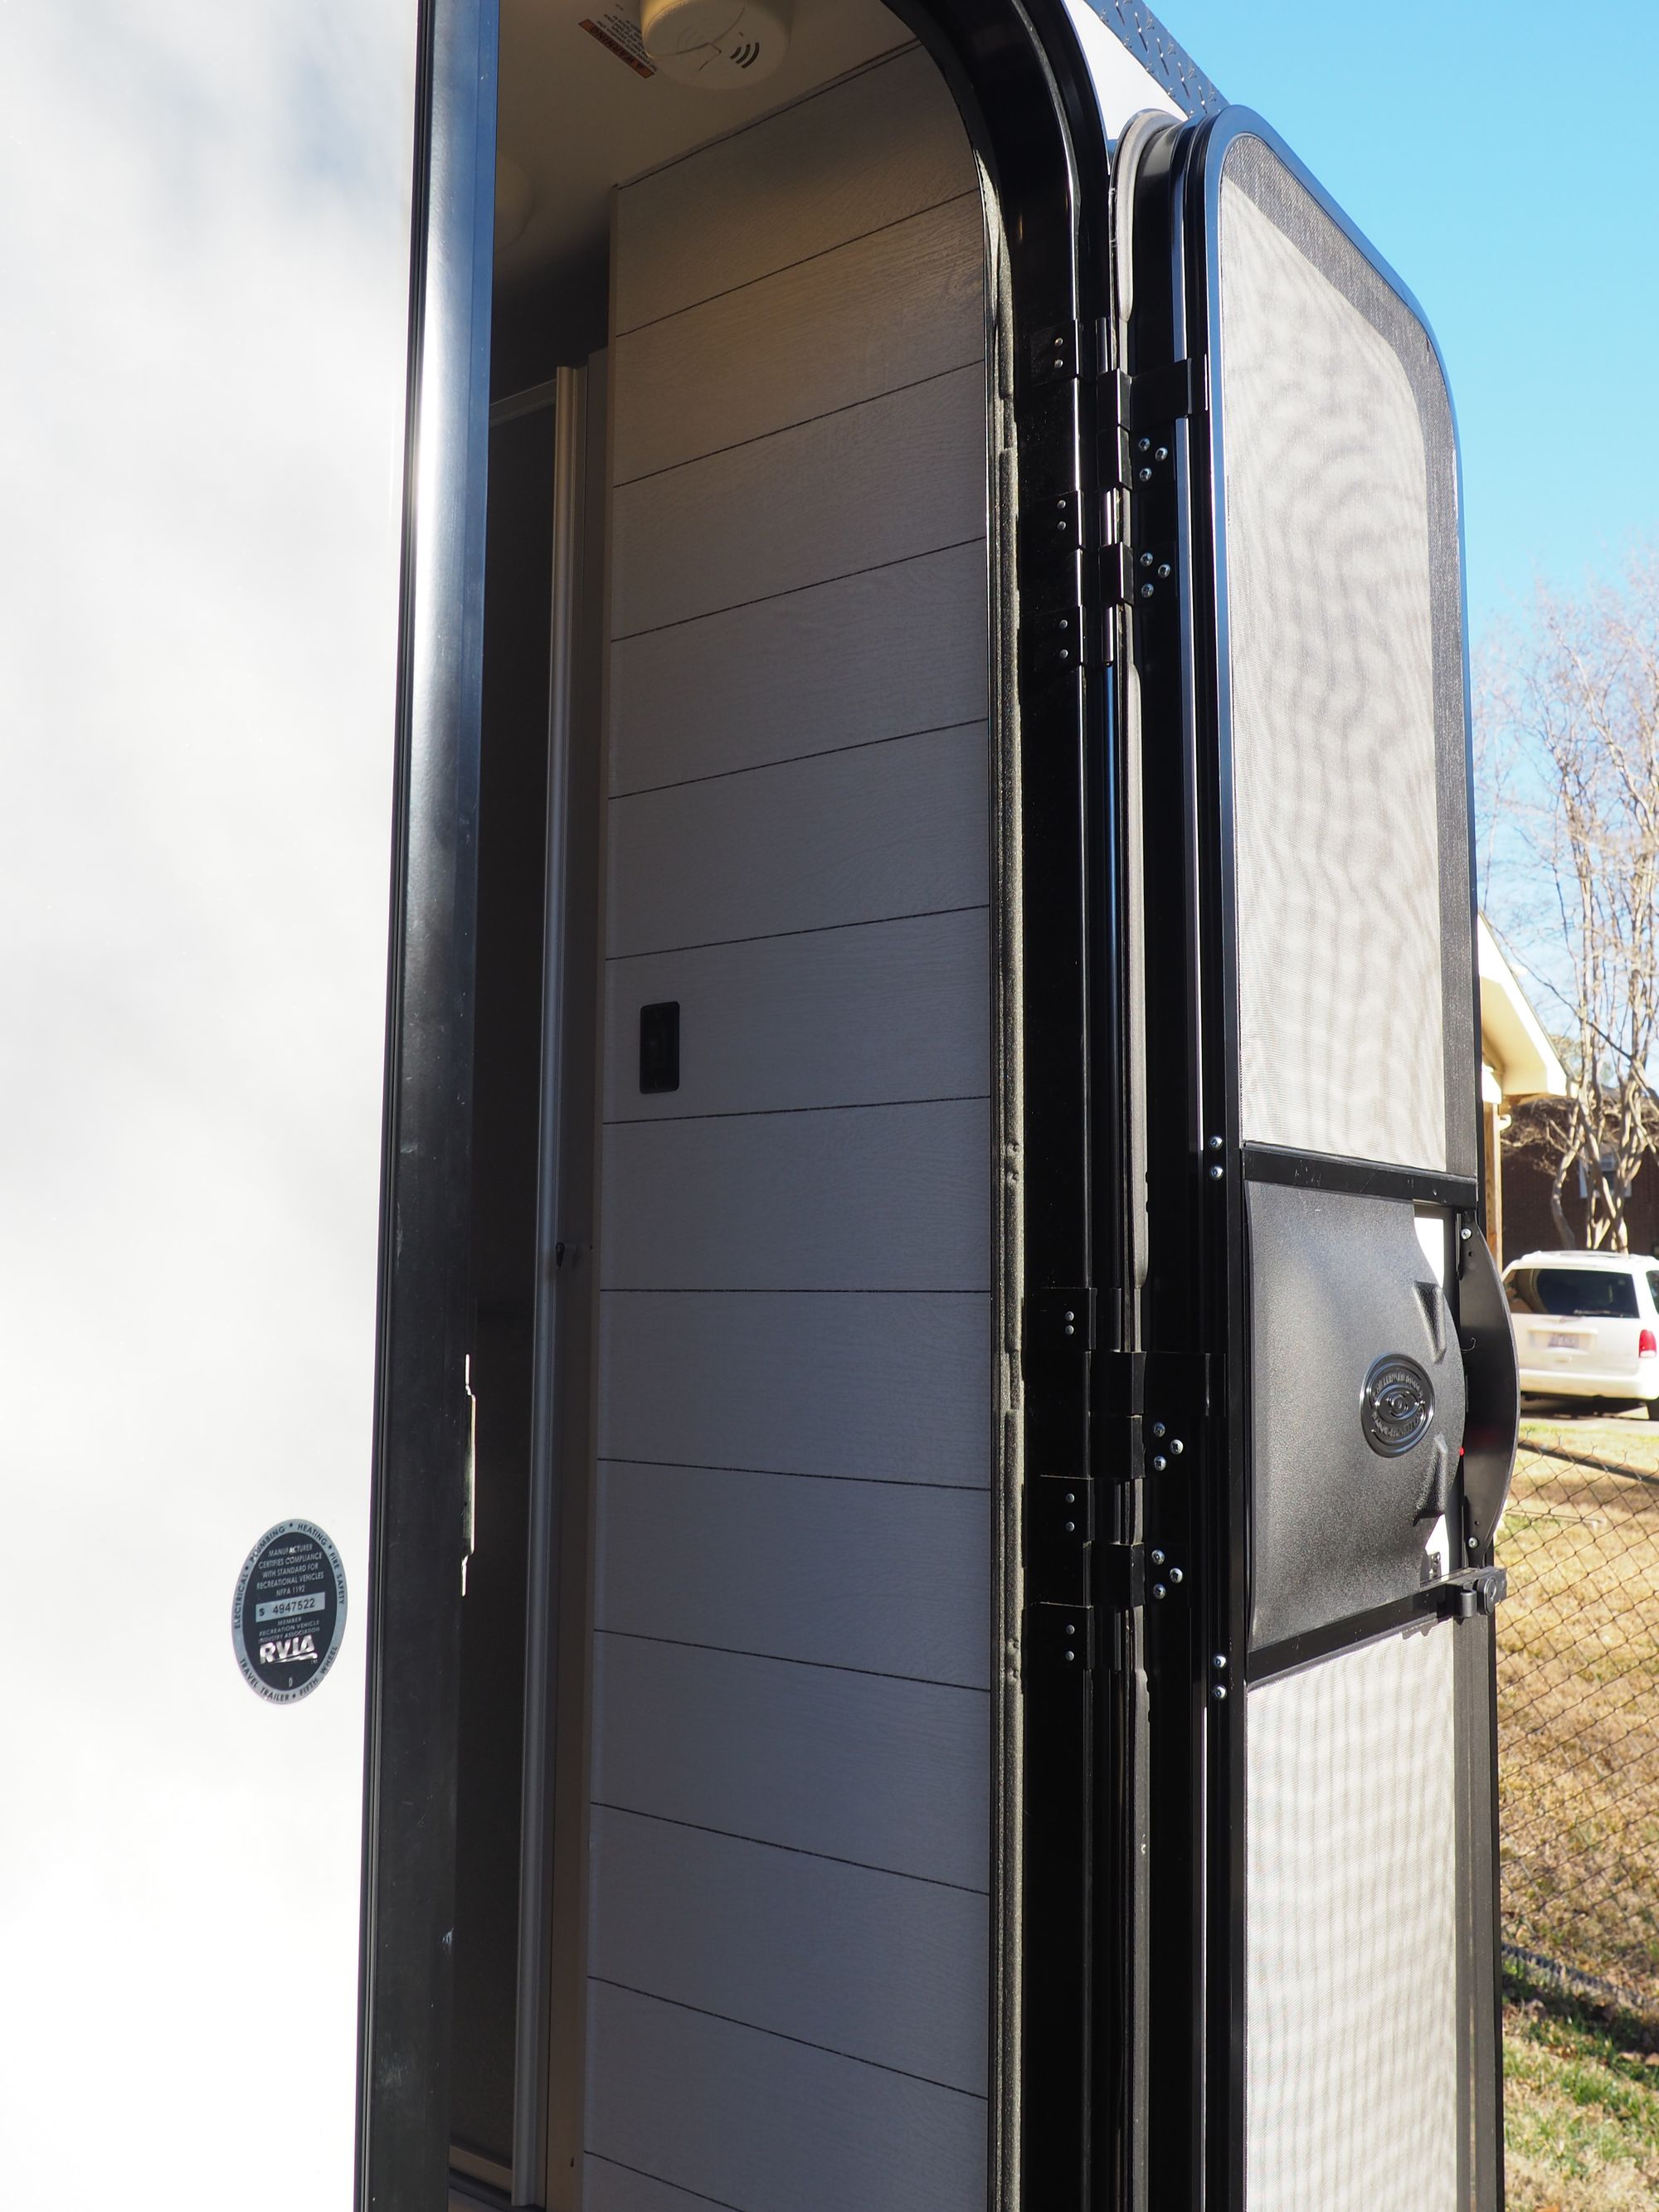
I removed the lightswitch, then used a heat gun to slowly remove the wallpaper, but a blowdryer would probably work fine, too. A box cutter is nice for cutting along the windows/doors/walls and will help you get things started. It was extremely satisfying to peel off large chunks of the paper. I'd say it took about an hour to remove the 15¾ in x 6 ft section I was replacing.
We went to Home Depot first to look for peel-and-stick wallpaper, but they had absolutely none in store. I actually didn't see any wallpaper there, so I guess that's one more thing I know for any future projects. Thankfully, there's a Target right next door, and we found (after several minutes of hunting around the store) some decent stuff. Corey said anything other than boring grey and white would be "too much," so we picked out one that kinda looks like white boards.
I measured the spot to replace, then we very carefully cut to size. Putting it up ended up being a two-person job where we argued about the best way to go about doing it so we didn't wrinkle it or make bubbles. What ended up working was removing all of the backing and using our fingers (not the metal paint scraper, which tended to increase the folds) to push out the bubbles, starting from the middle. Once it was sufficiently adhered to the plywood, we cut a hole in the paper where the lightswitch wires come out, then screwed it back in.